In order to use Windows 10 in a totally legitimate way, it is necessary to activate the system, this means to validate your copy. We show you what you need to validate your copy and how you can do it through the settings
To activate Windows 10, you need to have a digital license or a product key, only by having one you can activate your copy and guarantee that it is being used according to the software license terms established by Microsoft. You will have one or the other depending on how you obtained Windows 10.
A digital license is a code directly connected to your Microsoft account. You do not need to perform an action on the computer, just log in and connect your PC to the Internet, the activation will be done automatically. Windows digital licenses are purchased from the official Microsoft store. There, you will find the Home version and the Pro version. Once the purchase has been made, you will receive the necessary data in your Microsoft email account.
Computers that come with Windows 10 pre-installed also use this type of license. In these cases, you can extract the code from the operating system itself in case you need it in the future. It is also the type of license you get when you upgrade a legal version of Windows 7 or Windows 8 using the free upgrade system implemented by Microsoft since the release of Windows 10.
The product key is a numeric code of 25 characters, separated by dashes in blocks of 5 characters. This is the code you get when you buy the operating system from an authorized dealer or distributor, for example.
Whether you have a digital license or a product key to activate your version of Windows 10, access your Windows settings. You can do this through the gear icon on the home menu.
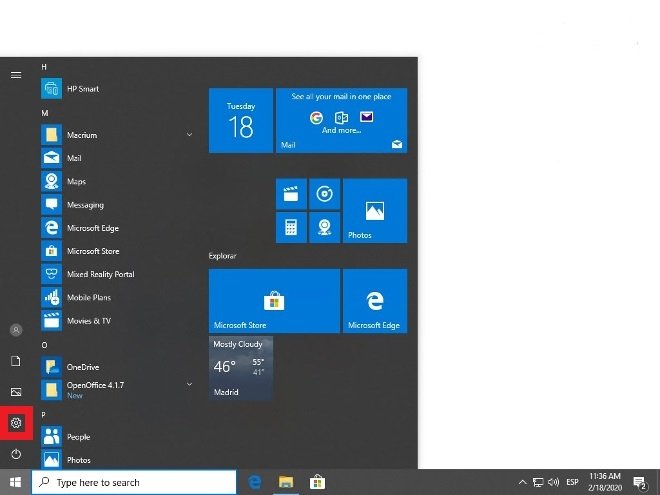 Access the Windows 10 configuration
Search through all Update & Security options.
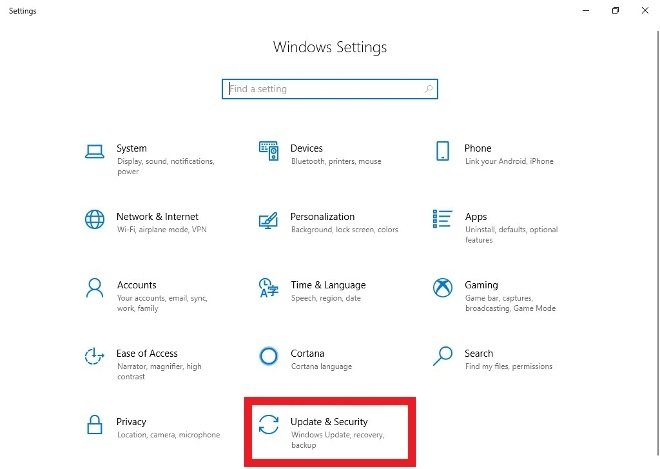 Press Update & Security
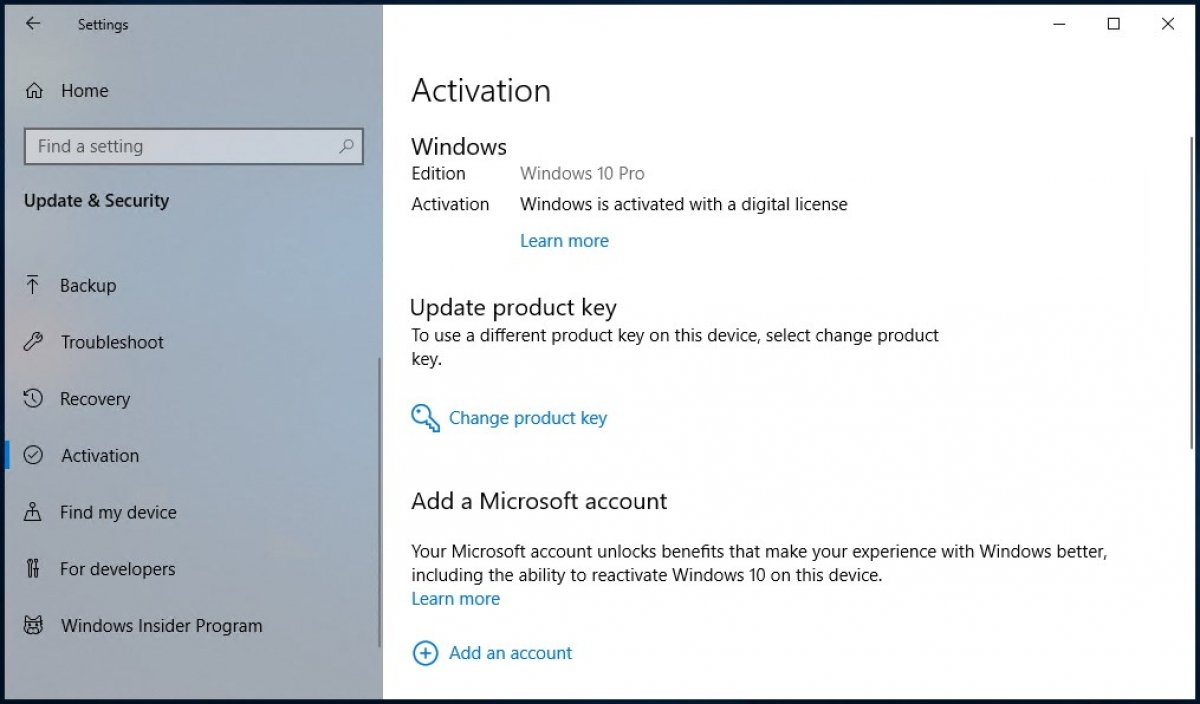
In the menu on the left, select the Activation option.
 Go to the Activation section
Among all the options, select Change product key.
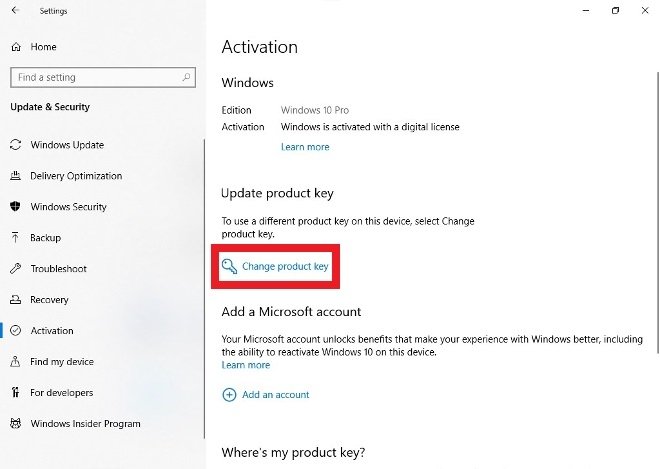 Press Change Product Key
Enter the product key in the text box and tap Next. At that moment, your version of Windows 10 should be activated.
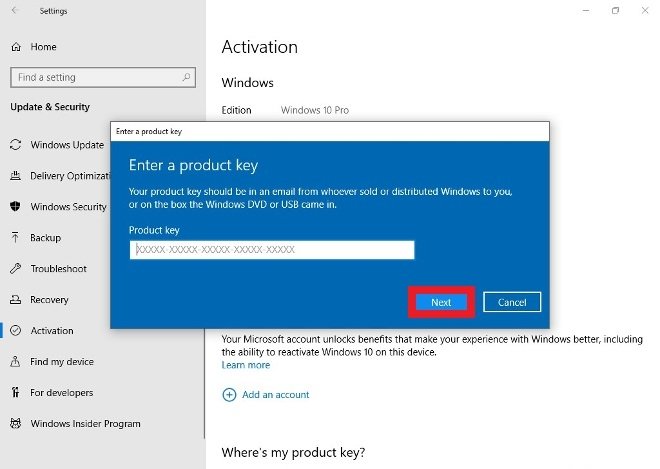 Type in the license number and press Next
It is possible to use Windows 10 without activating it. In that case, there are some limitations: you will always see a watermark on the screen that warns you that you are using an unactivated version and you will not be able to customize the wallpaper, the colors or the lock screen.